The Road To Safer Cycling
Today, more bicyclists and motorists are sharing the road than ever before.
Unfortunately, this increase in traffic has resulted in an increase in bicycling related accidents. But it doesn’t have to be this way. Bicycle riders can help prevent injury by making a point of developing their riding skills, learning about their bike’s capabilities and limitations, and seeking to avoid cycling hazards. You can keep bicycling fun without sacrificing safety when you know and practice the basics.
Find The Bike That Fits You Best
You want to buy a bike. Before you decide on what style is best for you, there are a few basic things you should consider:
1) What type of riding will you do? Trail and mountain, or road?
2) How much can you realistically spend on the purchase of a bike?
3) Can you afford the cost of maintaining and repairing a bike?
4) Do you have a place to store a bike?
Now that you’ve thought about your basic biking needs, it’s time to consider the variety of bicycle styles and features available. As you compare, take into consideration the quality of major parts, such as the frame, and the brakes. Avoid plastic parts that may wear quickly, or parts that can’t be replaced. Compare the difference in “pedal effort.” Think about whether you prefer upright or dropped handlebars. You can always stop into a bike store to look at styles, ask questions, and to test ride and compare bikes. Ideally, the bike should be assembled when purchased, if it isn’t, make sure there are easy to understand directions included. Your
new bike should also come with a written warranty that you should take time to review and understand before you purchase.
Bike Styles
Multi-speed Lightweight
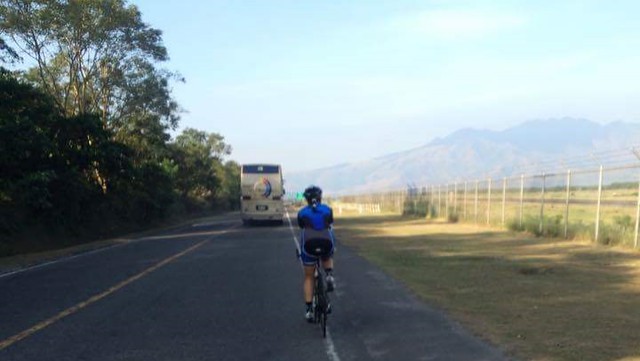
The multi-speed, lightweight bike is a road bike built specifically for long distance cycling along flat ground or on hills. Equipment includes front and rear hand brakes, dropped handlebars, and a narrow seat, padded or unpadded. Dropped handlebars allow you to lean forward to reduce wind resistance. For greater visibility in traffic, riders can sit upright by holding the top portion of the handlebars. This bike can be configured in up to 27 gear combinations. The gears are shifted by levers that are usually located on the down tube, near the handlebars, or as part of the brake lever mechanism. This multi-speed bike is ideal for both serious and general cycling enthusiasts. Its careful construction makes this bike one to handle with care.

(click image to enlarge)
Time Trial Bike
One difference between a time trial bicycle and a road bicycle is the use of triathlon handlebars or aerobars. The main part of the bullhorns curves forward (like a road handlebar), but where the road handle bar curves down, the time trial bar ends. This provides a low tucked position that is aerodynamic while providing good stability. The time trial bar also uses a “clip on” bar or aerobar which attaches to the main bar near the stem and provides a position where the hands and fore-arms are close together, low and forward, providing a very aerodynamic (though less stable) position. – wikipedia

Mountain Bike
This bike, designed to accommodate a variety of riding situations, is a good choice for multi-terrain cycling. It is outfitted with 10 or more gears vital for taking on rugged or hilly terrain. It’s also an excellent choice for cycling that involves short trips around town. Handlebar positioning allows the rider to sit in an upright position enabling a broad view of traffic.

(click image to enlarge)
The Right Fit
The most important decision any cyclist will make is deciding which bike to buy. And the most important criteria a bike must meet is how well it fits the cyclist. Buy a bike that is too large or too small, and it will be difficult to handle and uncomfortable to ride. Following are the key guidelines to getting the best fit:
1. Compare the frame and wheel size to the length of your legs. For
models with a horizontal top bar, straddle the top bar while keeping both
feet flat on the ground. There should be one or two inches of clearance
between the rider and the bar allowing for easy mount and dismount.
2. To check seat height, sit on the seat while someone holds the bike steady. Place the ball of the
foot on pedal. When the ball of your foot is on
the pedal at its lowest position, your knee should
be slightly bent.
3. When it comes to handlebars, they should be set
with grips at about seat level. Dropped handlebars
should be dropped down at a 10 degree to 20
degree angle from horizontal while the upper part of the bar should be level
with, or slightly below, the seat.

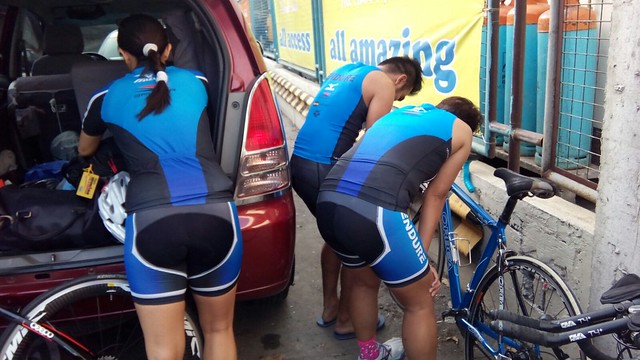
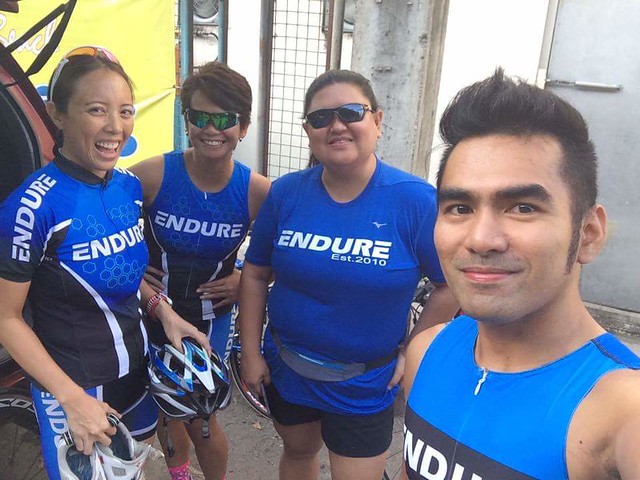
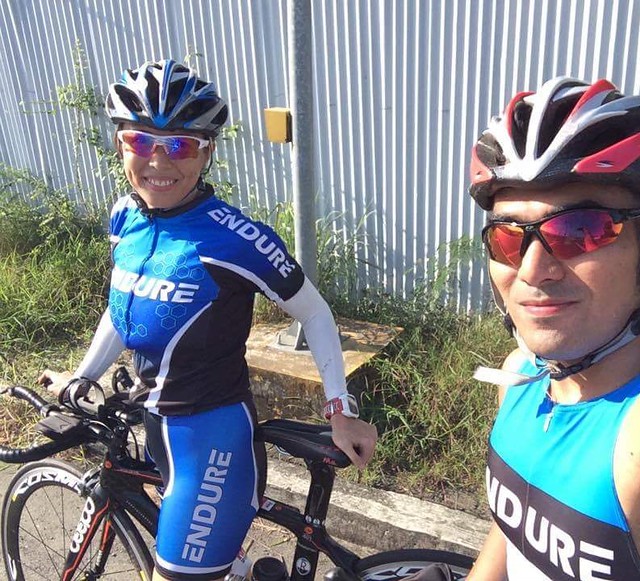
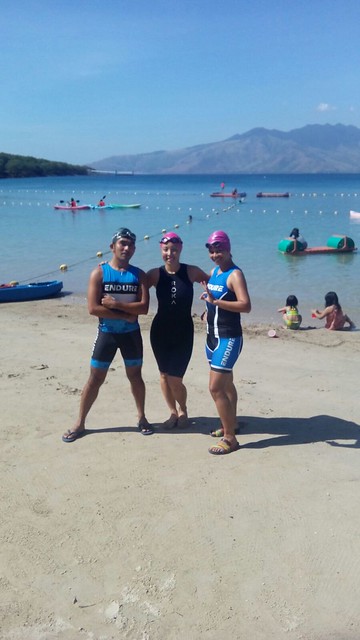
Bike Fit of Sh-Endure Hanna Sanchez
Master The Basics
Balance, braking and maneuvering ability are necessary cycling skills. All cyclists need to master these skills before becoming roadway users in our complex traffic system. Practice riding on a dry, clean, level area away from traffic and free of obstructions. A school playground or an empty parking lot is a good choice. Try the following skill tests until they become comfortable and easy to perform.
Hand Signals
Always use hand signals in advance to indicate to other bicyclists and motorists a change in your direction, or that you will be stopping.

Avoiding Accidents
The great majority of bicycle fatalities are the result of a collision between a bicycle and an automobile. Most bike/car crashes occur at intersections and driveways. Although there are many factors involved, statistics suggest that the cyclist may be at fault in approximately 75 percent of these accidents. The good news is that accidents can be avoided. However, you have to know what to look for and what to do. One accident avoidance technique can be summed up in the acronym, SIPDA. It stands for Scan, Identify, Predict, Decide, and Act. Follow each step when analyzing any traffic situation as a cyclist.
Scan
Look in every direction when deciding which way to ride, particularly far ahead.
Identify
Identify any potentially hazardous traffic or obstacle that could affect your cycling path, particularly low hanging tree branches and parked vehicles.
Predict
Process the information you see, and prepare an alternate course of action you could take.
Decide
Choose the safest route for any given situation. You may have to trade off between traveling the fastest route in favor of the safest route.
Act
Carry out your decision in a safe and courteous manner. Every state requires cyclists and automobile drivers to obey the rules of the road. Failure to stop at a stop sign or traffic signal contributes in great measure to bicycle and motor vehicle accidents.
Stop, Look and Watch
The best way to avoid accidents is by keeping alert. Always think ahead and observe what is going on around you. Bicycles aren’t always easy for motor vehicle drivers to see. Ride on less traveled roads such as neighborhood streets, paths, lanes or routes especially designated for bicyclists until you are a more advanced cyclist.
Helmets
A helmet is the most important accessory a bicyclist should own. Every year, approximately 1,000 bicyclists are killed in the U.S., and 8 out of 10 bicycling deaths are as a result of head injuries. Wear a helmet specifically designed for bicycling. It should include a sticker identifying it as an approved helmet.

Stay Visible
Approximately 80% of cyclists involved in nighttime accidents are not seen by motorists until it is too late to avoid a collision. As a bicyclist, one of the best ways to stay safe is by taking extra care to be seen at all times. Wear
light colors such as white or fluorescents during the day, and avoid bicycling at dusk or at night. If you must ride at night, take extra precautions. Wear reflective clothing or material, add reflectors to pedals and the rear and sides of your bike, as well as a headlight which is required by law when riding during hours of darkness. Front lights must be white and rear lights must be red. A leg lamp, a small battery powered light showing white in front and
red to the rear that is strapped to the leg just below the knee is also recommended.
Theft Protection
Help keep your bike from being stolen with these simple tips:
• Get a high-quality “U” lock, or padlock and a case-hardened chain. Lock
your bike by placing the chain through the front wheel, the frame and then
around a stationary object, or a bicycle rack.
• Store your bike in a garage, secure hallway or basement out of sight.
Source: nj.gov